Context and background
When working with automated CI/CD pipelines with you Sitecore Content Hub, you need to be aware of the development lifecycle for your Action Scripts. This is to ensure your source code repo for your scripts doesn’t get ‘bloated with orphaned‘ script code files. In this blog post, I will cover how to manage the development lifecycle of your Action Scripts to mitigate against this problem.
What happens when you serialize action scripts into source control
I have previously blogged on Content Hub DevOps, especially on leveraging Content Hub CLI to extract a baseline of your Content Hub components. For example ch-cli system export --type Scripts --wait --order-id command allows you to export Actions, Scripts and Triggers package. When you unzip or extract the files within this package, you will notice there is a scripts folder. This will have two types of files: .json files and .csx files (assuming your actions scripts are written in C#.NET)
Script .json file type
For each action script packaged from your Sitecore Content Hub instance, it will have two files. One of them is the script .json file.
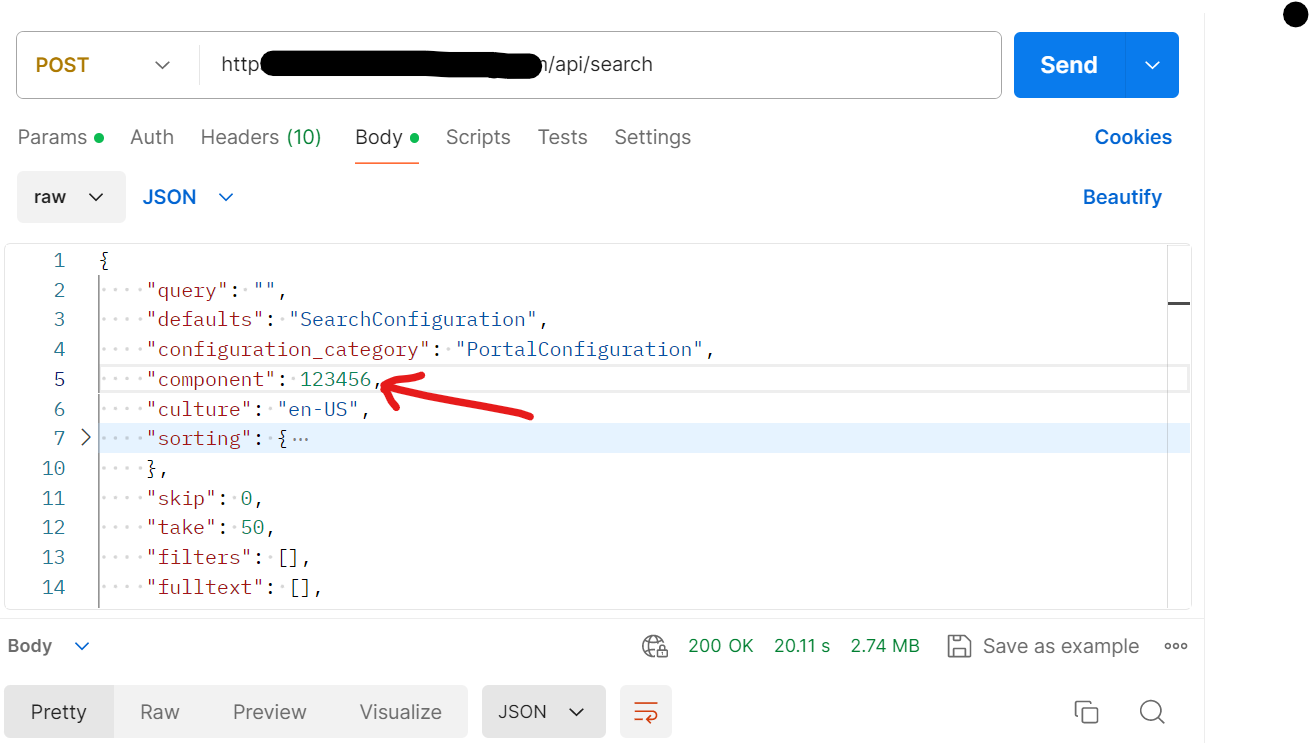
Below is a sample action script json file:

This file contains all the relevant meta-data about the action script. In particular, you will notice that it is referencing a second file using the ScriptToActiveScriptContent relations property. Using our sample above, this json file is referencing this code file “ZOGG4GbbQpyGlTYM7r1GfA“
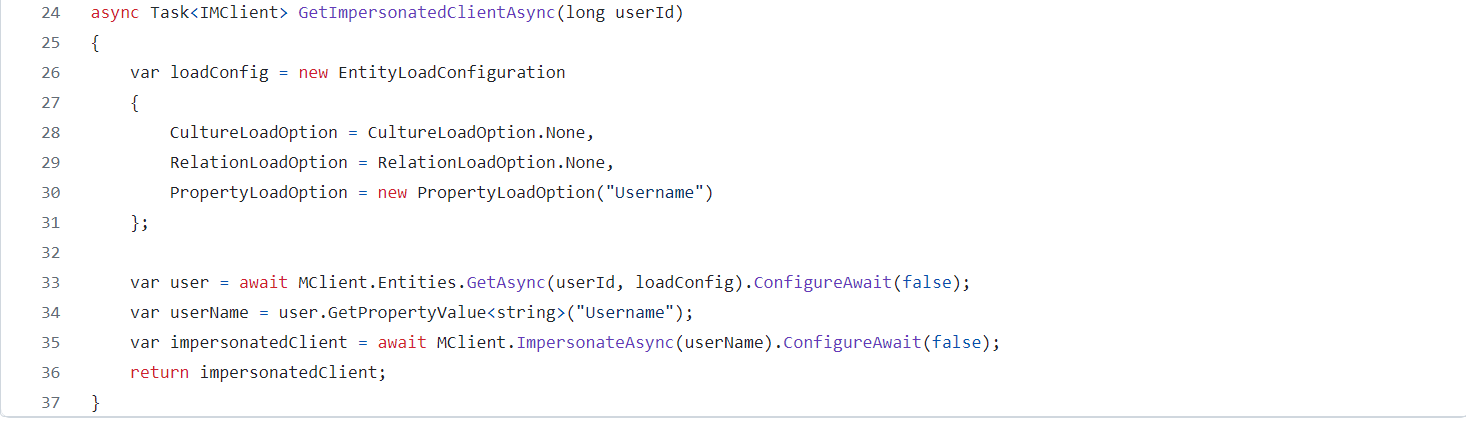
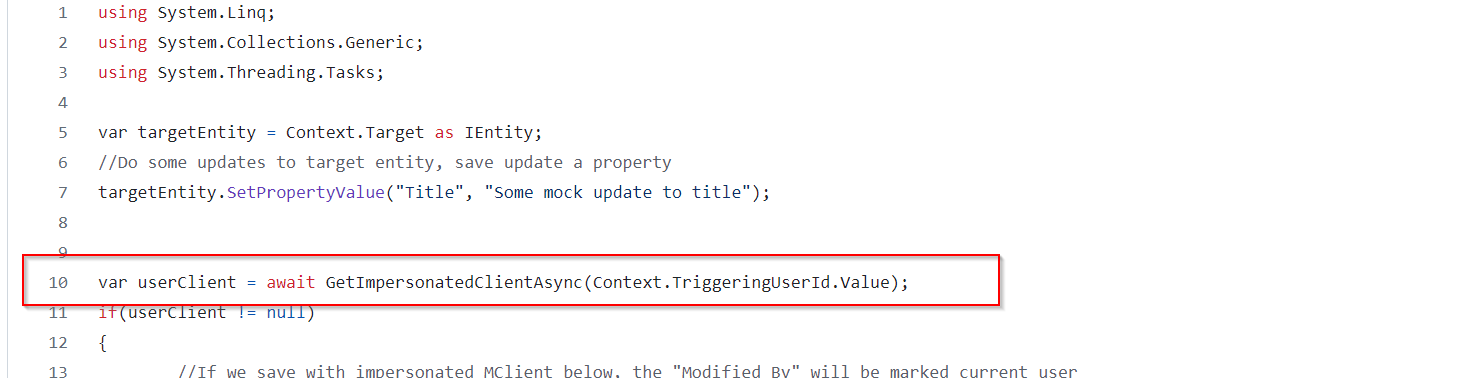
Script .csx code file
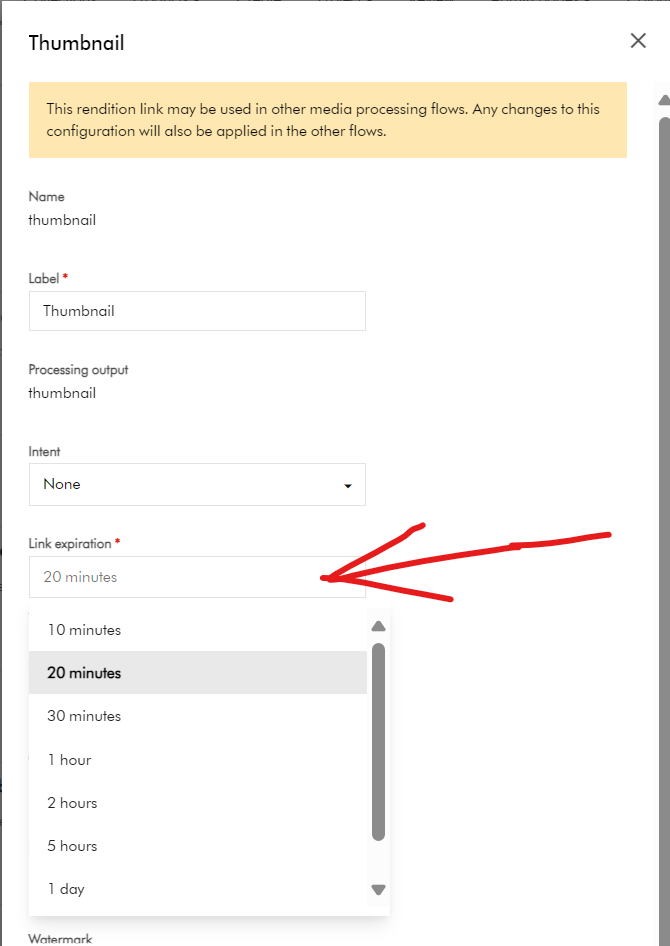
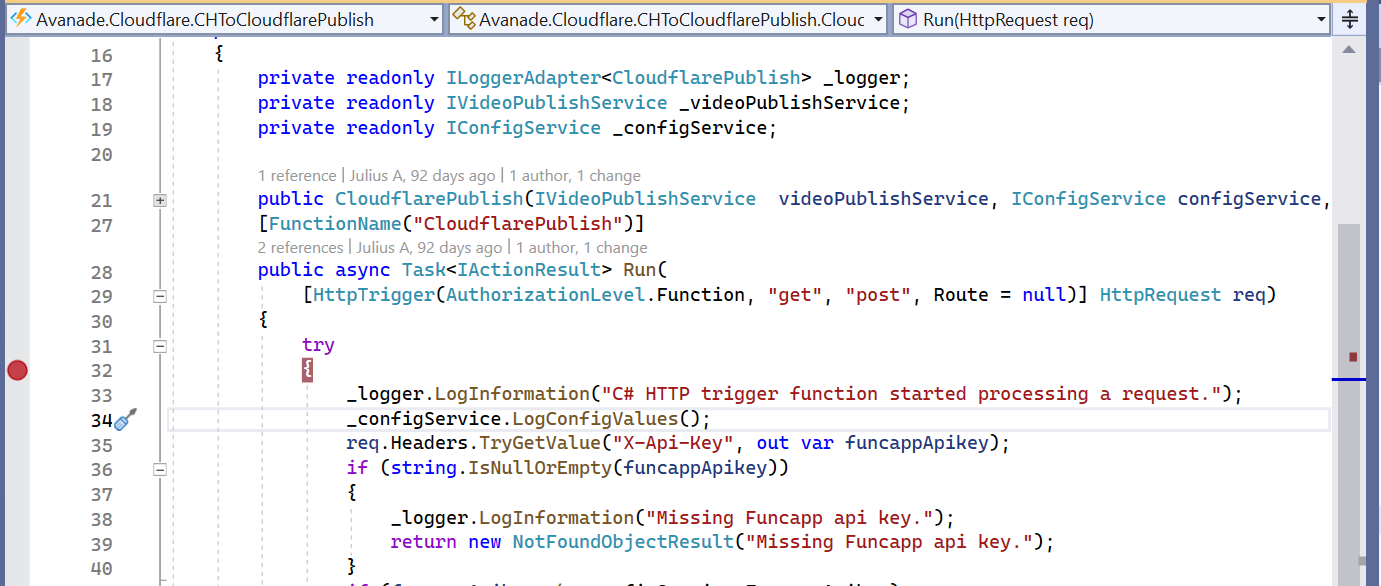
The code file based on C#.NET, is similar to the sample shown below.

What happens when you modify the code in your scripts
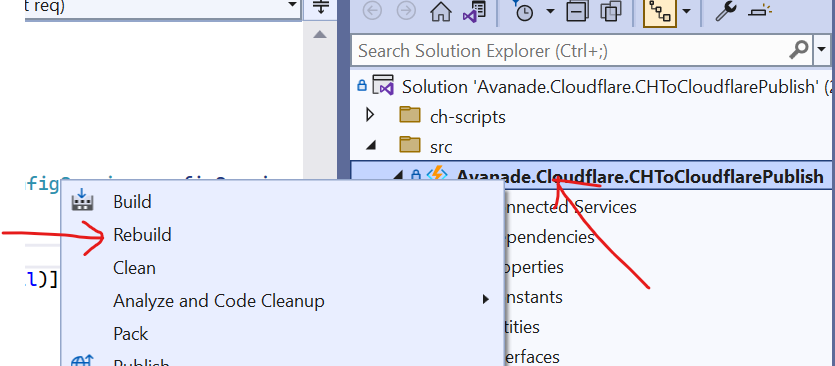
Each time you make changes to your Action Script source code and successfully build it, Content Hub will generate a new code file version behind the scenes. This will be automatically linked to its corresponding script .json file.
To visualise this, you will notice that when you serialise your Action Script again from your Content Hub instance, a new code file will be generated.
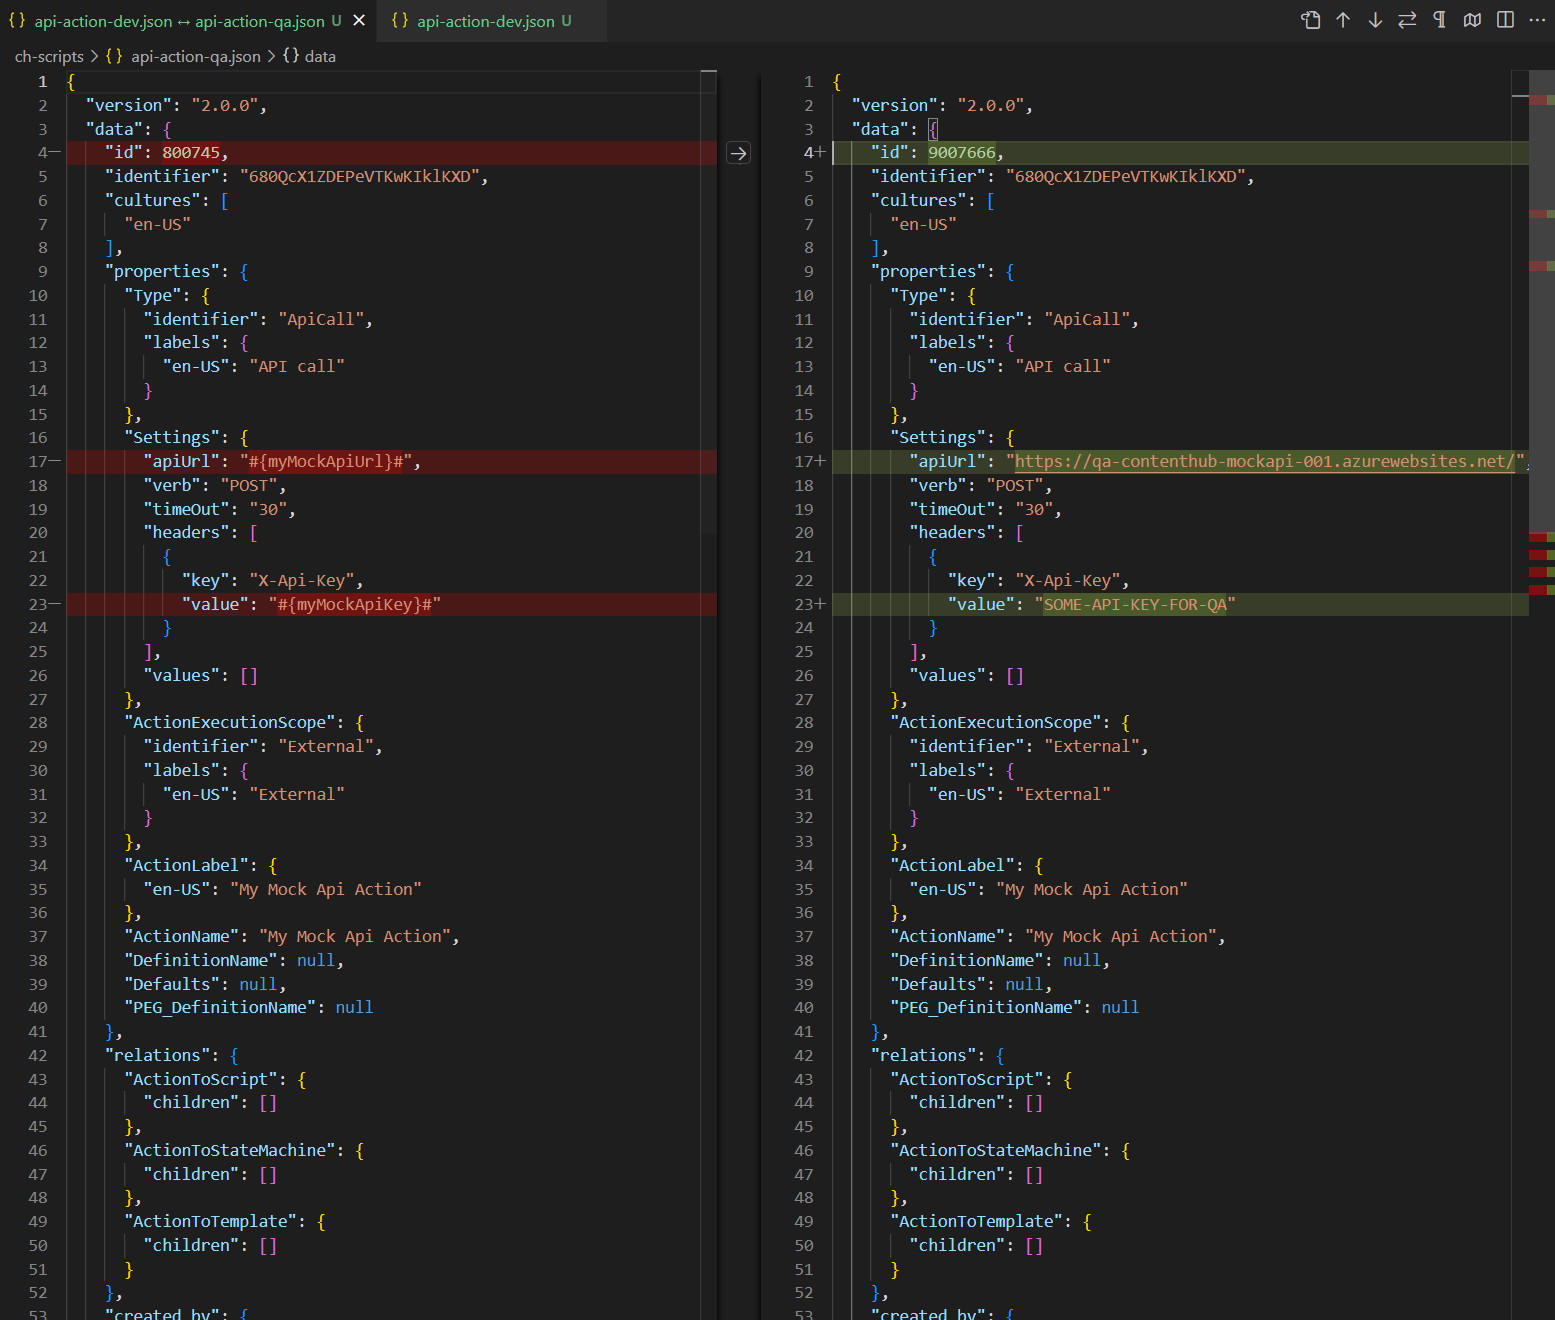
If you now compare the previous code file with the new one, it will become obvious which changes Content Hub has made to the .json file. Below is a sample comparison.

What should you do with the ‘old’ code file
We have now established what is going on whenever the source code in your action script is changed and successfully rebuilt. Each time, a new file will be generated. The old file will remain in your source code repository, unused and effectively ‘orphaned’.
My recommendation is to design your DevOps process that will always clean-up or delete all files from your scripts folder in your source code, before pulling the latest serialised files from your Content Hub instance.
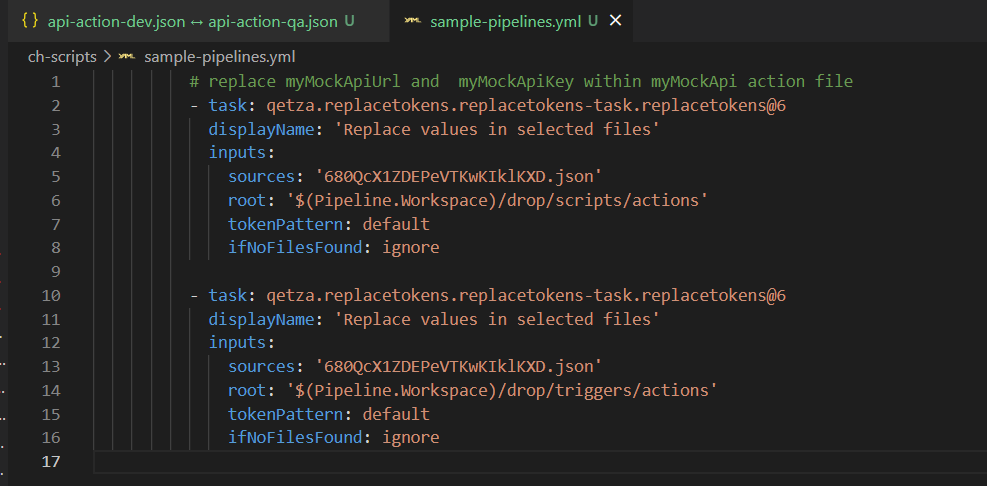
You can do this in an automated way leveraging the Content Hub CLI commands. Alternatively, you can do it old school way leveraging PowerShell commands to delete all files from scripts folder before serializing new ones again. Whichever mechanism you leverage, ensure old and used code files do not bloat your source code repo.
Next steps
In this blog post, I have discussed what happens when you make code changes to your action scripts. I explained why you will have ‘old’ or ‘orphaned’ code files within your script folder that will bloat your source code repo. I also covered steps you can take to mitigate this problem.
I hope my approach helps you address similar scenarios in your use-cases. Please let me know if you have any comments above and would like me to provide further or additional details.