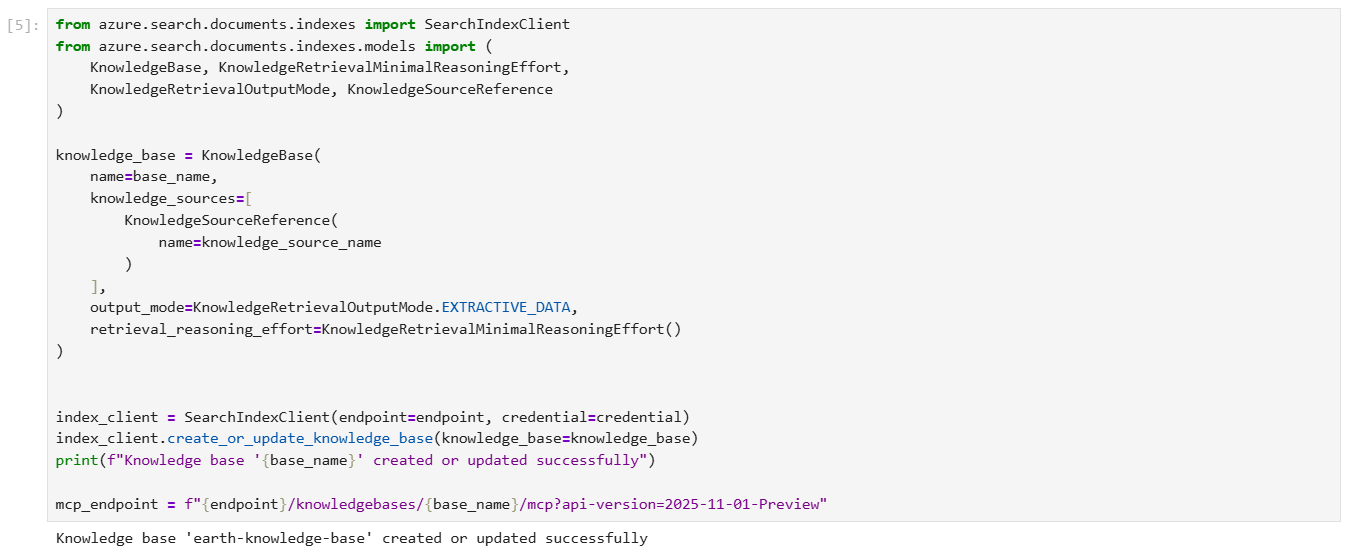
SitecoreAI implementation architecture adopted from developers.sitecore.com
Context
While serverless hosting remains a popular recommendation for SitecoreAI, many large-scale organizations operate under strict governance, compliance, and infrastructure mandates that necessitate a Microsoft Azure-based strategy.
Sitecore recommends a serverless hosting infrastructure for headless application as these are more performant, scales better, and introduces less complexity. The main reason for not recommending Azure App Services is that it takes a server infrastructure approach to headless hosting, leading to performance implication, manually managed scaling, and additional management complexity.
In this blog post, I will bridge the gap between “standard headless” and “enterprise-ready,” showing you how to maintain the agility of a modern front-end stack while leveraging the robust security and scale of the Microsoft ecosystem.
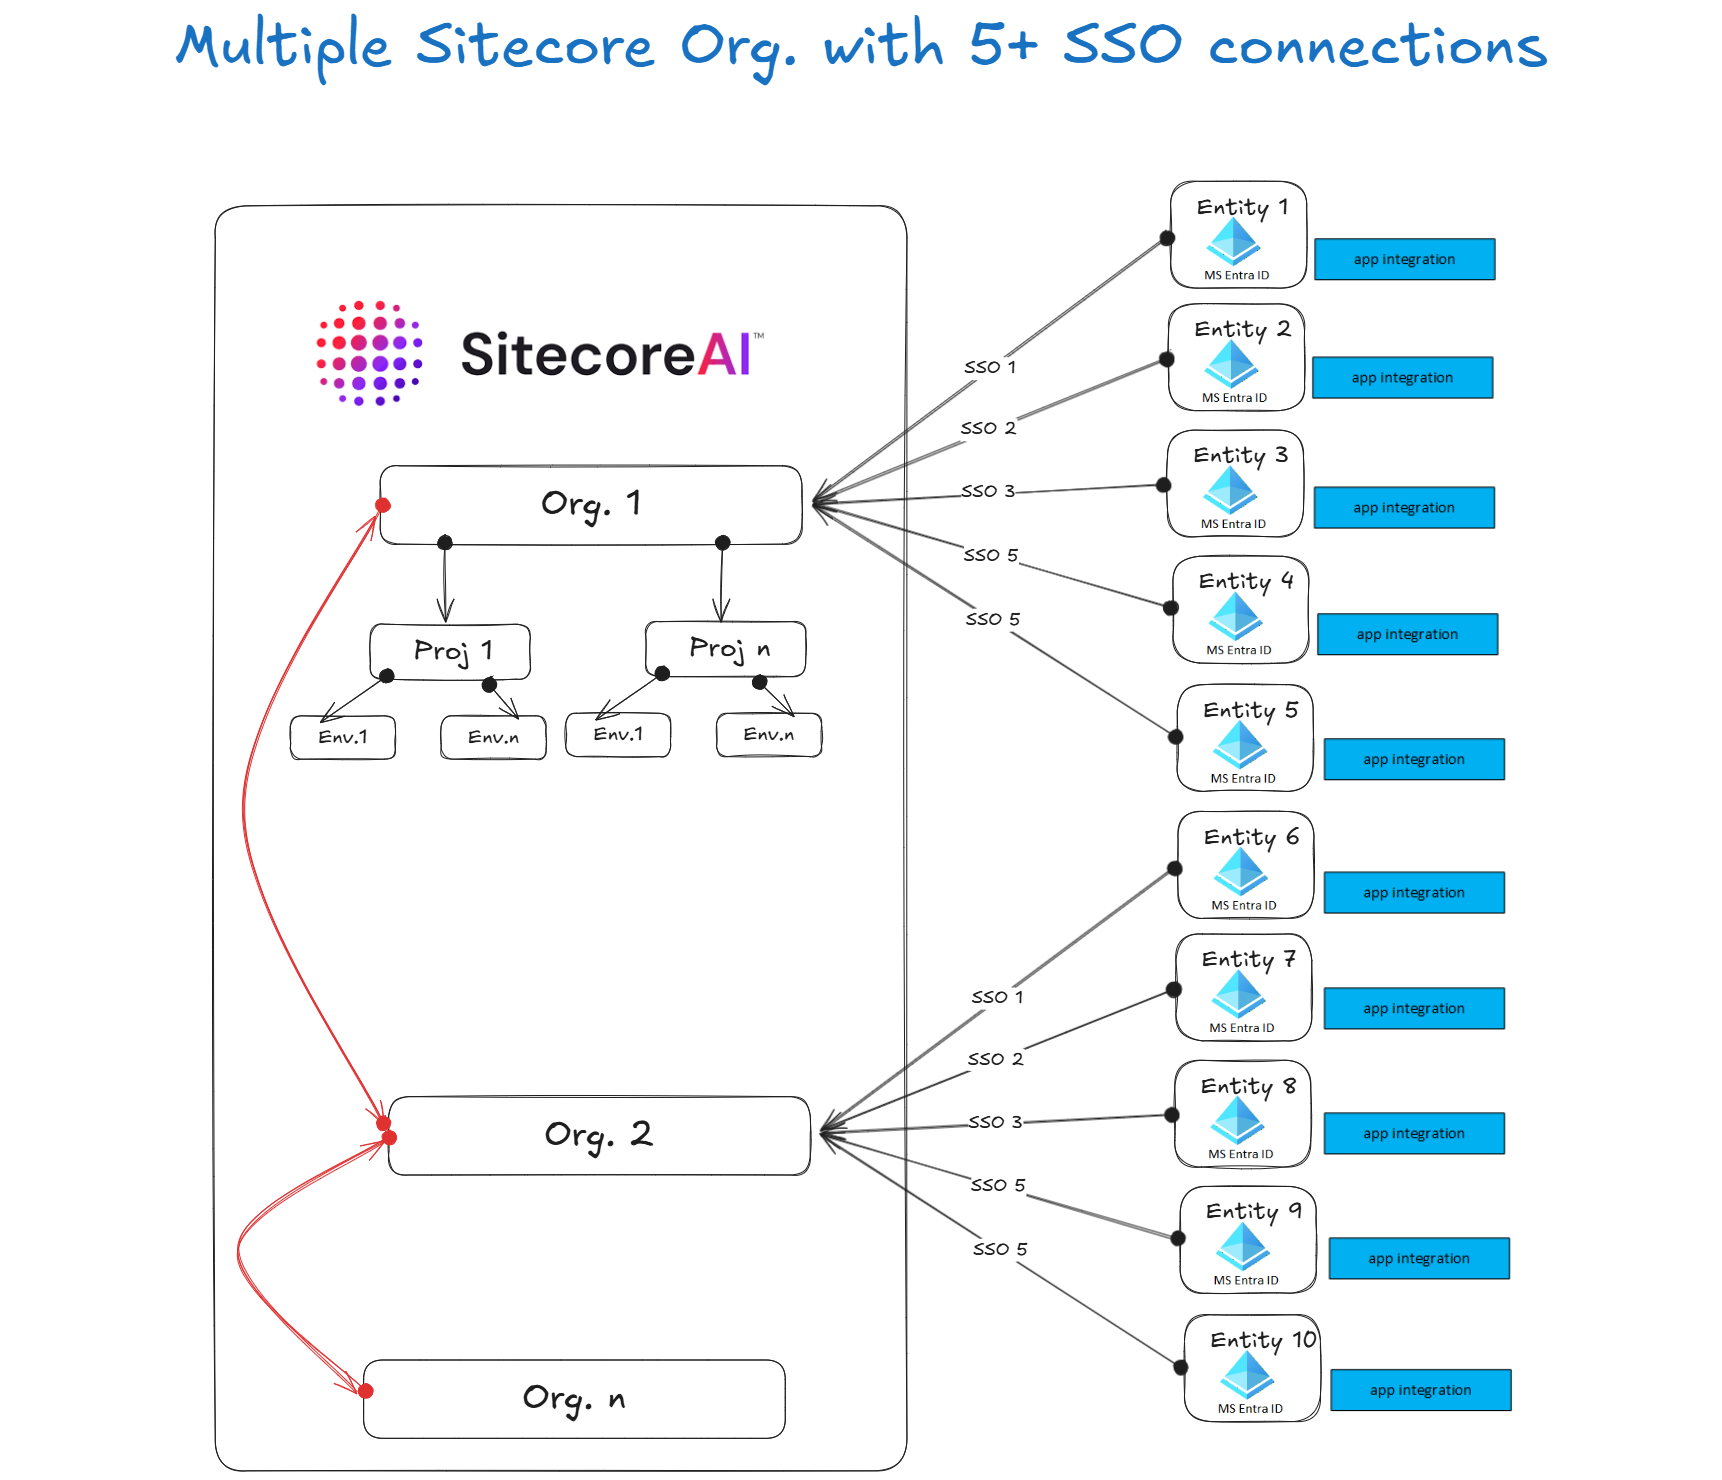
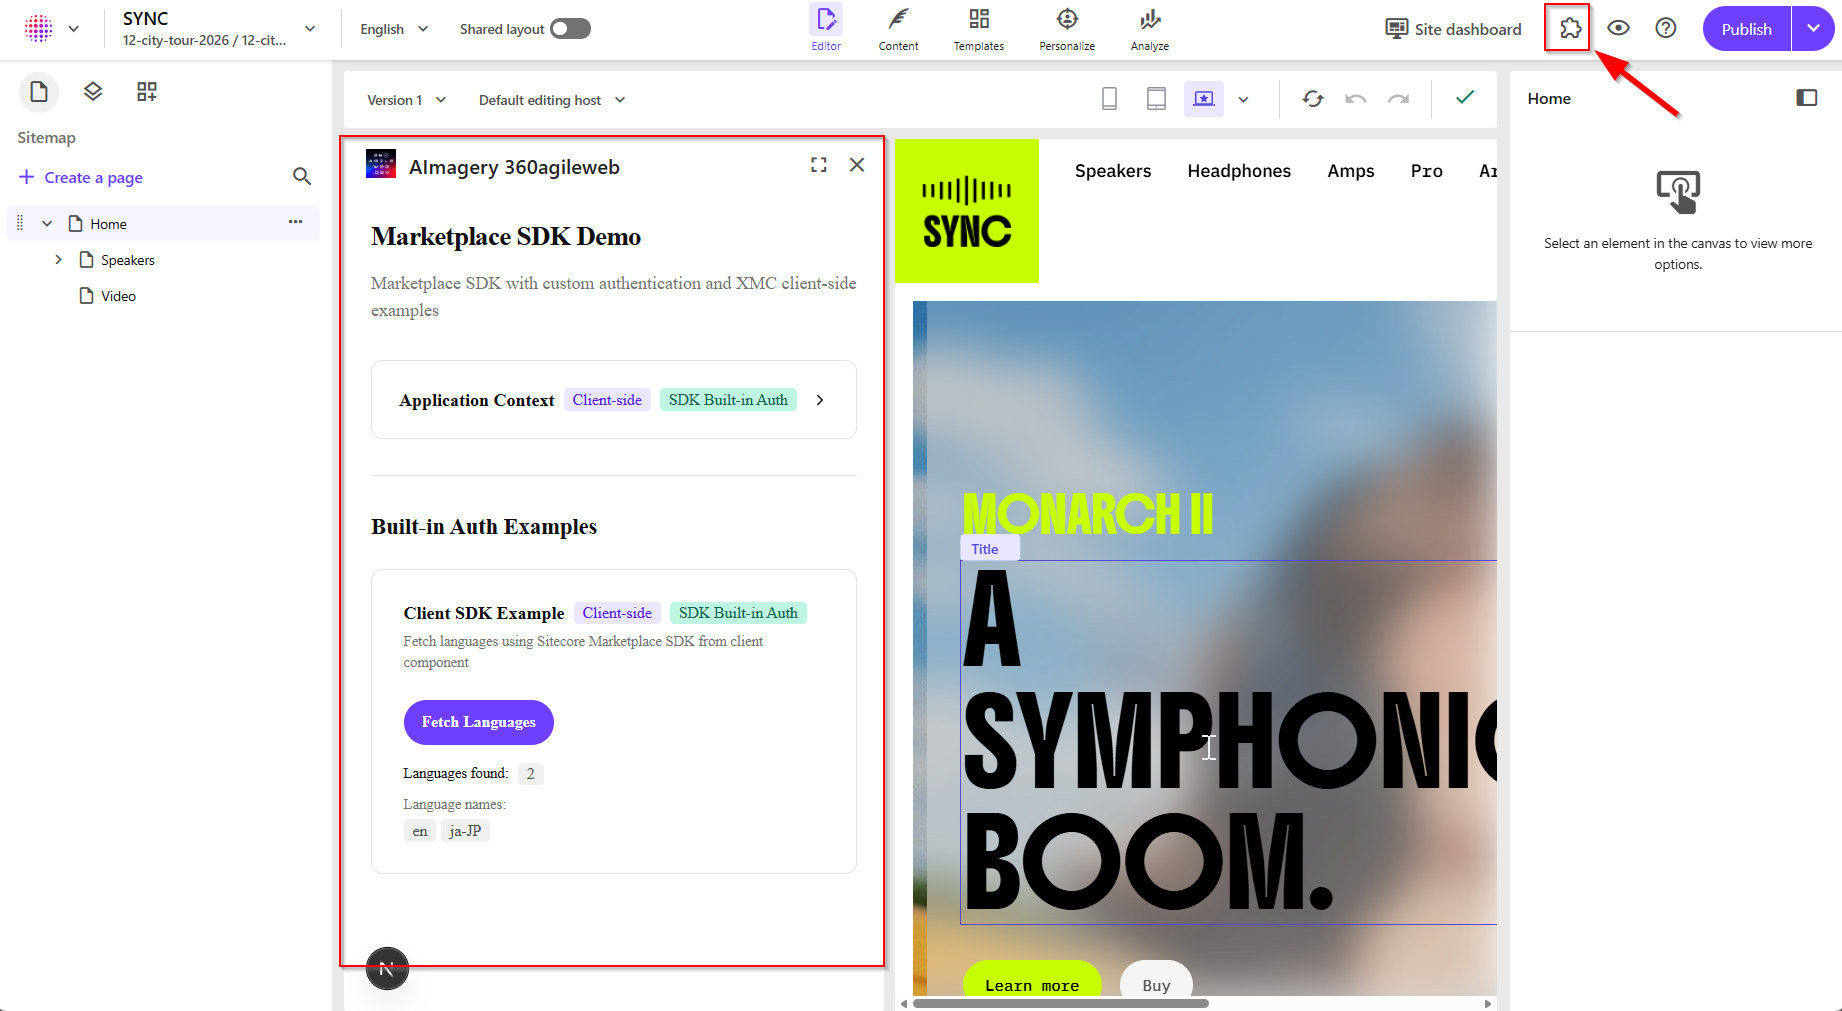
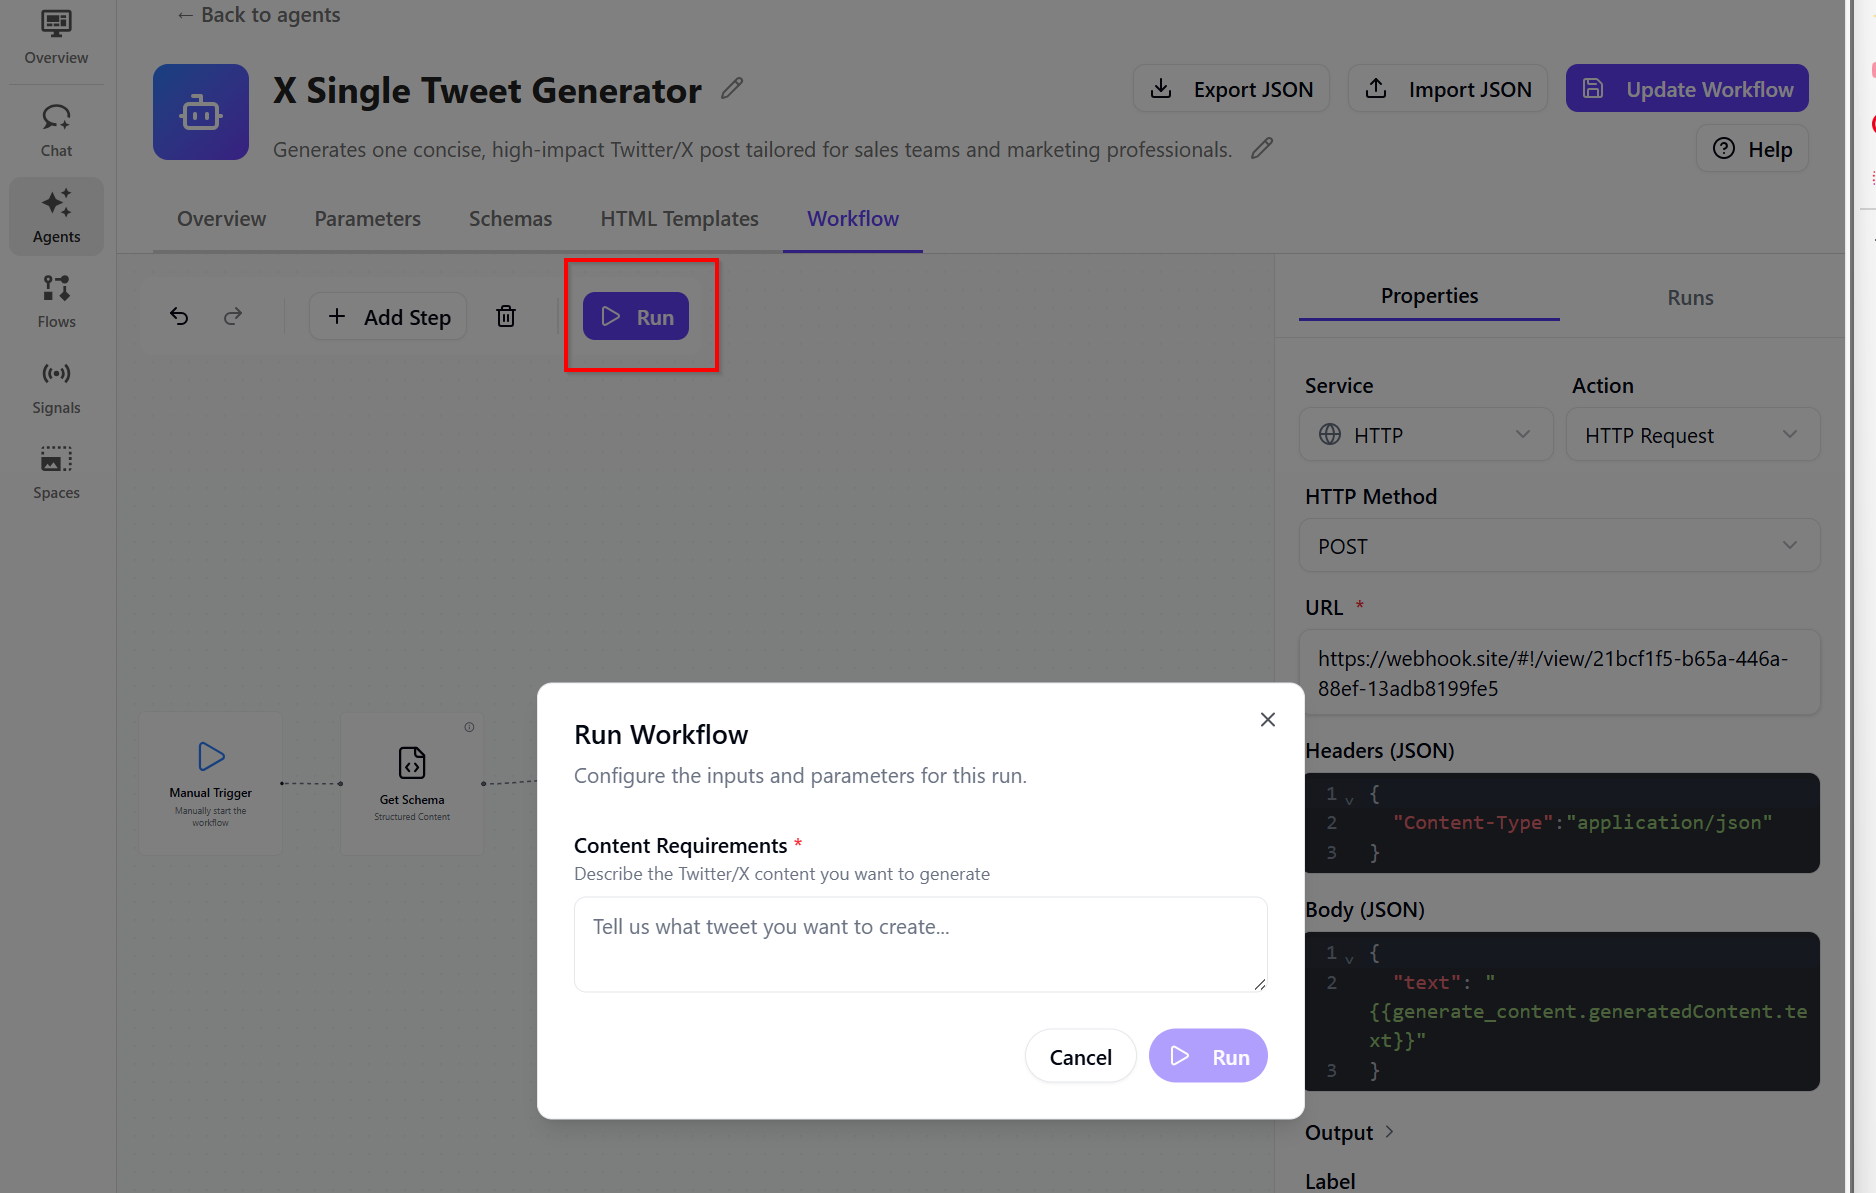
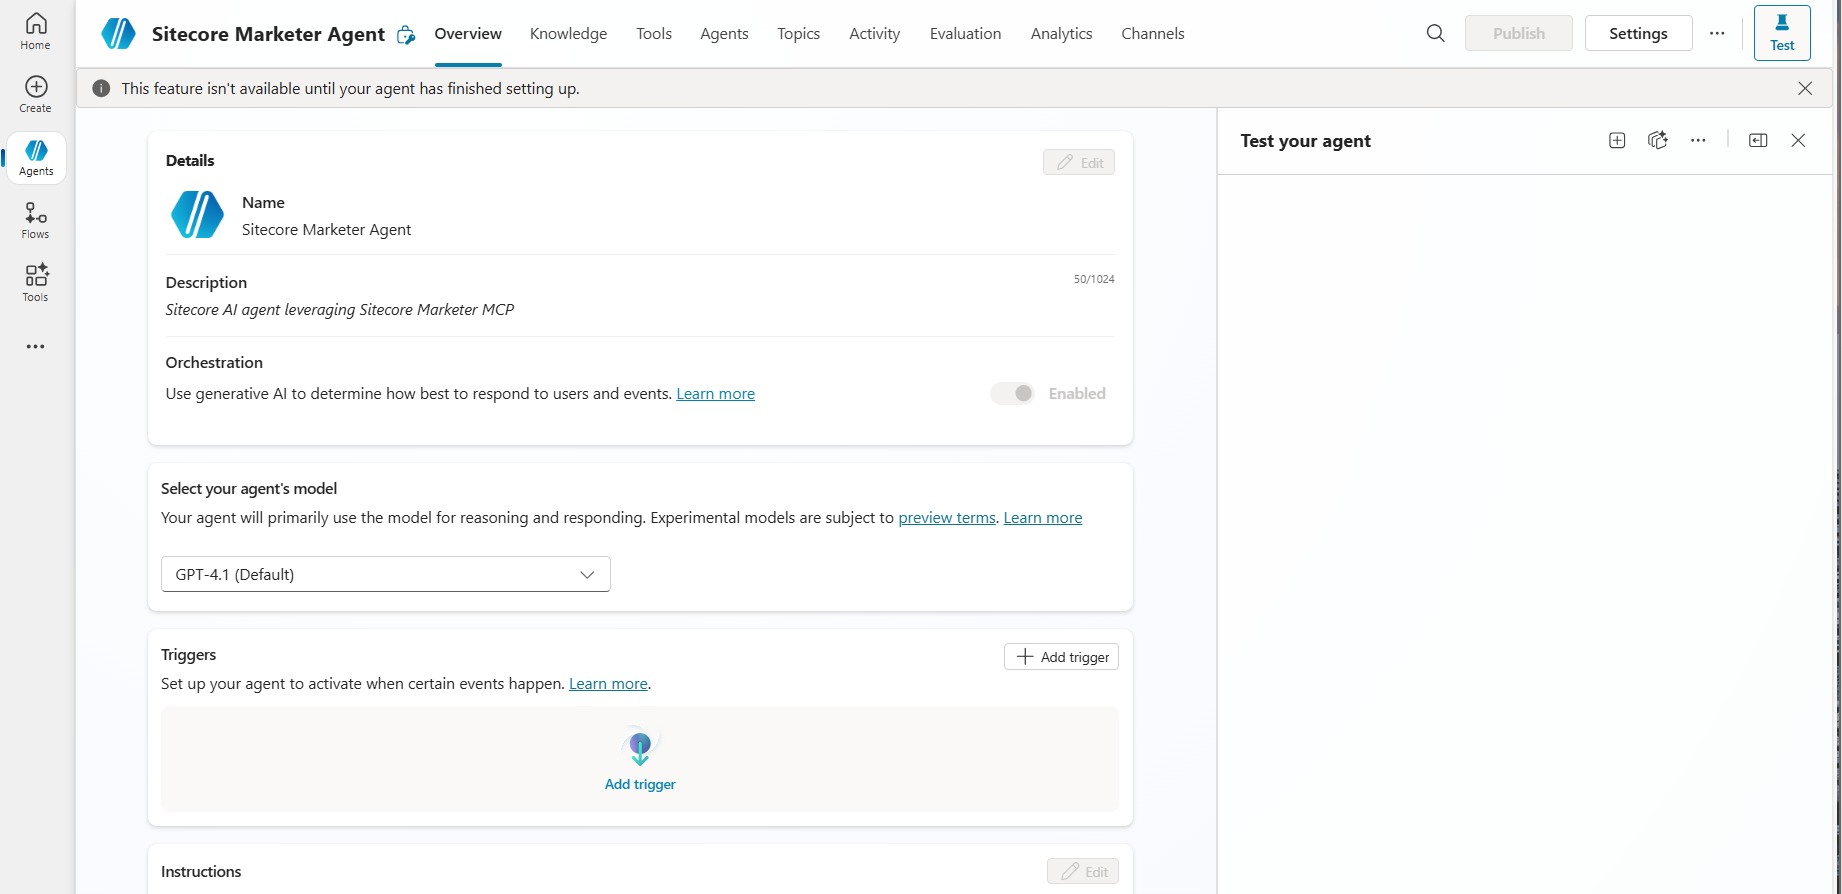
Recap on SitecoreAI Implementation Architecture
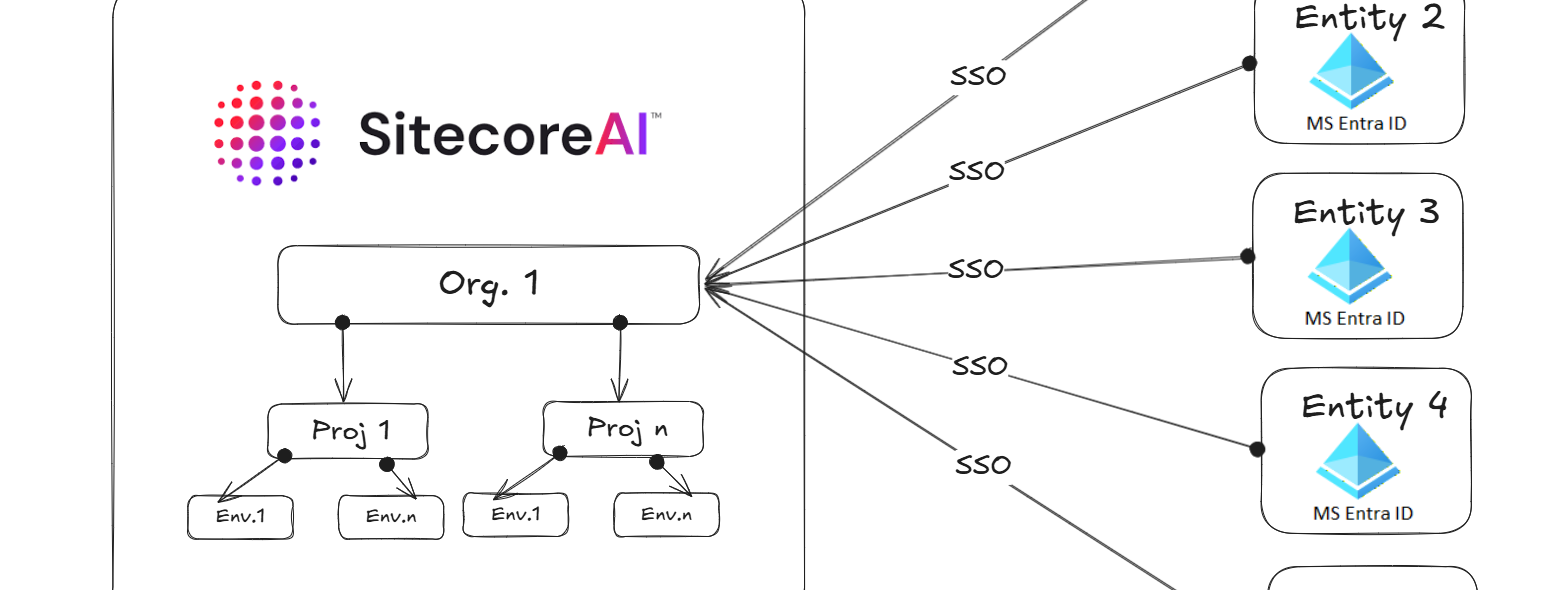
I have shared the SitecoreAI implementation architecture above, which I adopted from developers.sitecore.com.
- In the architecture, we have SitecoreAI SaaS hosted. This is the Authoring environment for Content management, editing, and setup typically used by Authors and Marketers.
- The Editing host – WYSIWYG editing experience (Page builder or Design studio) used by Authors for editing only
- The Front-end hosting – Public website/app rendering for end users (website visitors)
- The code-base or solution – SitecoreAI decouples the front-end presentation from delivery. You can build your solution with any front-end technology that is supported by the Content SDK
Running Next.js on Azure App Services
Azure App Services supports running both Node and Docker Web Apps. Please note that Next.js is a JavaScript application and JavaScript is a single-threaded language, the Node.js runtime for JavaScript is also single-threaded. Careful considerations have to be taken to avoid performance issues with multisite architecture.
There are two approaches we can leverage here:
- One app for multiple websites – deploy a single Next.js web application that will have multiple websites
- One app per website – deploy a separate Next.js web application for each website
| One app for multiple websites | One app per website |
|---|---|
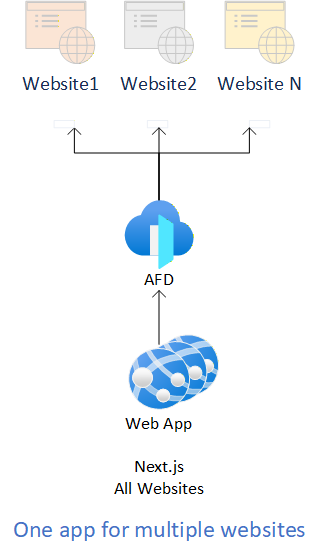 |  |
| Multiple websites structured within same code base | Can isolate websites to separate code bases |
| Deployment pipelines will deploy multiple websites together and at the same time | Deployment pipeline can be separated to match code base structure, each website deployed separately |
| Every deployment to the Web App will affect all sites hosted within the standalone instance | Since the Web Apps are isolated deployments will only affect the relevant website |
 |  |
| Hosting small websites that share the same codebase and differ mainly by domain/content, one app for multiple websites is often more resource-efficient. | Separate web apps within same Service Plan are usually the better operational choice if the websites have different release cycles, different teams, different dependencies or different performance profiling. |
Azure App Service Plan scaling architecture
One of Azure App Services’ biggest limitations is performance. The diagram below helps illustrate how an Azure App Service Plan works and how it hosts web applications.
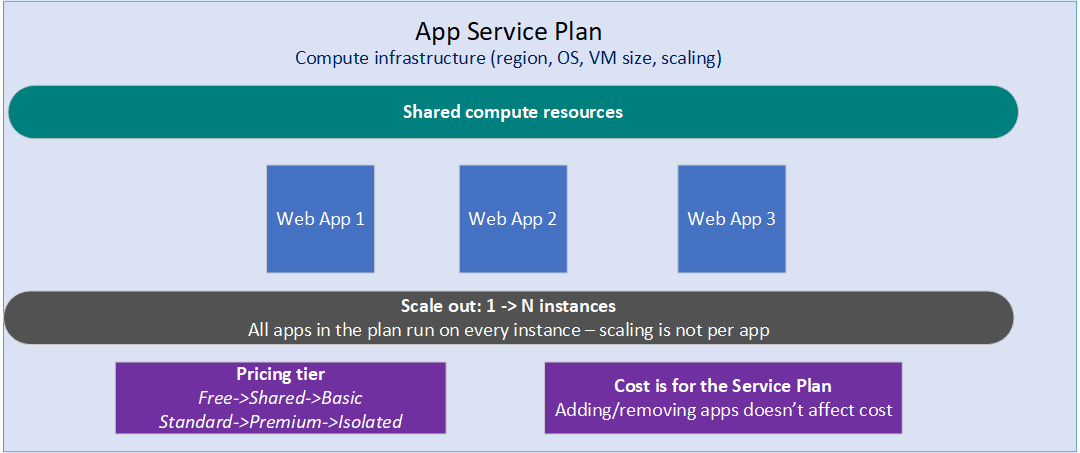
Here is a breakdown of the key concepts shown in the image:
App Service Plan Definition
- Compute Infrastructure: An App Service Plan defines the physical or virtual resources used to host your apps.
- Core Specs: It determines the geographic region, Operating System (Windows/Linux), Virtual Machine size, and scaling capabilities.
Resource Sharing
- Shared Pool: All web apps (Web App 1, 2, and 3) assigned to the same plan share a single pool of compute resources.
- Shared Assets: They share CPU, RAM, disk space, outbound connections, and auto-scale rules.
- App Isolation: Each individual app maintains its own unique custom domains, SSL certificates, app settings, and deployment slots.
Scaling Behaviour
- Plan-Wide Scaling: Scale-out operations happen at the plan level, not the app level.
- Instance Replication: When you scale out from 1 to N instances, every single app in that plan is automatically deployed and run on every new instance.
Pricing and Cost
- Pricing Tiers: Capabilities scale across tiers, moving from Free, Shared, and Basic up to Standard, Premium, and Isolated.
- Fixed Plan Cost: You pay for the App Service Plan itself, not the individual apps.
- Bill Stability: Adding more apps to the plan or removing them does not change your overall bill.
App Service Sizing considerations and limitations
Consider Tiering App Service based on criticality of your workloads
Critical App Service Plan tier – for Production workloads
For production workloads, consider Premium v3 Plans, which have superior single-threaded performance over Basic and Standard Plans. Premium v3 App Service plans with Availability Zones enabled have been observed to be more reliable during Azure App Service Platform Updates. Also limit the number of Web App deployed in this critical service plan to a minimum.

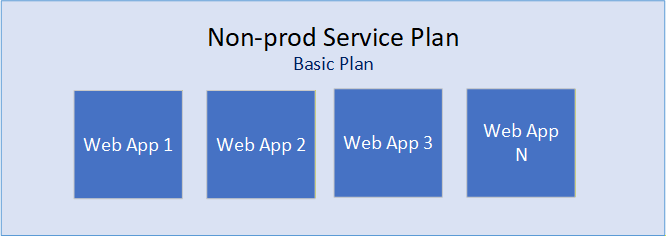
Non-production Service Plan tier
For non-production workloads, consider Basic and Standard Tier plans, as well as deploying many Web Apps to share the service plan, as shown below.
Azure App Services Specific Limitations
Depending on your use cases, you may encounter limited network port capacity for outbound network calls. Official Sitecore docs indicate some customers have hit the network connection limits’ upper bounds, leading to levels of performance degradation.
App Services in an out-of-the-box configuration have a soft limit of 128 ports for outbound connections via SNAT. Exceeding 128 ports can cause SNAT Port Exhaustion, leading to connection failures to Edge or any other public endpoint.
Please review Troubleshooting intermittent outbound connection errors in Azure App Service, specifically the section “Avoiding the problem” which recommends the use of the vNET Integration feature and NAT Gateway, this greatly alleviates SNAT issues, Please also review Azure subscription and service limits, quotas, and constraints for other limits that you may encounter.
Scalability limitations
Efficient scaling requires a content delivery network (CDN). However, Azure App Services does not come with a CDN by default.
Azure does offer the Azure Content Delivery Network service, but the endpoint and caching needs to be manually managed, which will require further monitoring and management.
Azure Front Door is a global, scalable entry-point that uses the Microsoft global edge network to create fast, secure, and widely scalable web applications. It combines Content Delivery Network (CDN) capabilities, global HTTP load balancing, and robust security, including built-in DDoS protection and a Web Application Firewall (WAF)
Next steps
In this blog post, we looked at alternative to Sitecore recommended serverless hosting for SitecoreAI like Vercel or Netlify and looked at Microsoft Azure-based strategy. We explored the Azure App Services including the approach to host multisite architectures and scaling considerations. We also looked at App Service Sizing consideration and some limitation to be aware of. For further reading, consider exploring Sitecore docs on Multisite Architecture resources.
Stay tuned for future posts, feel free to leave us comments and feedback as well.