In my previous blog post, I covered how to configure your Function app for debugging within your local development environment. In this blog post, we are going to carry on from where I left and look at how to start doing some end-to-end integrations tests with your Func app.
Getting your Sitecore Content Hub ready
As explained in my YouTube video – 3 Content Hub: API call action set-up, you need to set up an API call action within Content Hub. This is the action that will trigger the execution of our Func app.
Below are steps to follow to accomplish this.
- Using Manage -> Actions menu, click on ‘New action’ button to launch the create New action popup, similar to the one shown below.
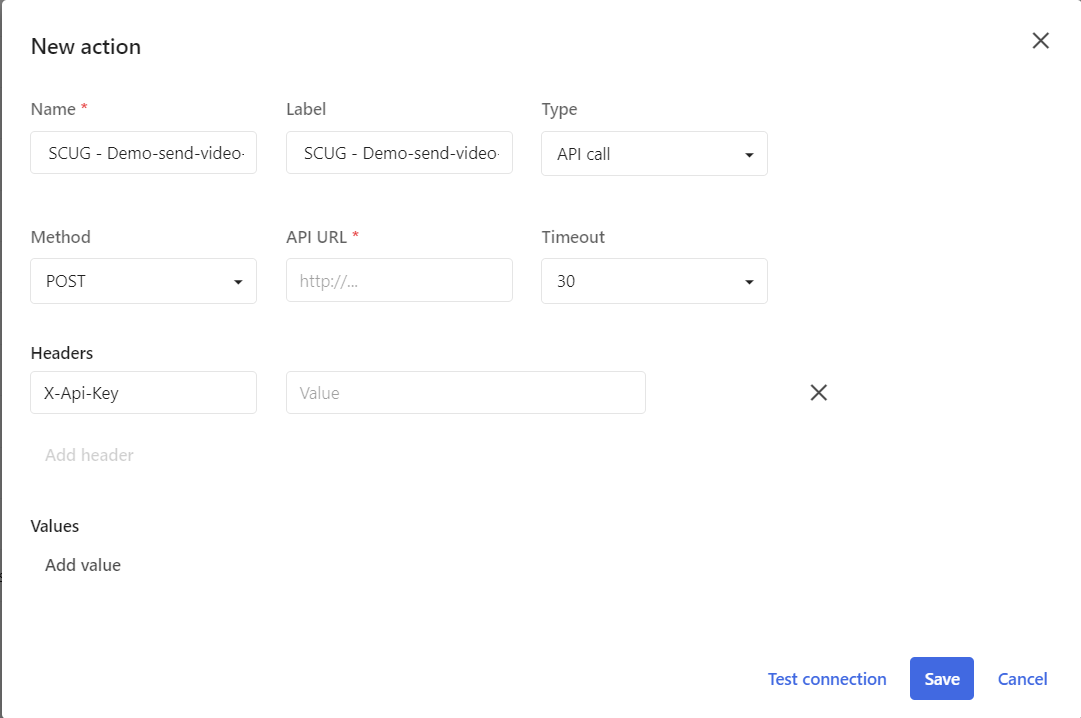
- Populate all the required details as shown above:
- Name: Specify the name of the API call
- Label: Specify the display label for the API call
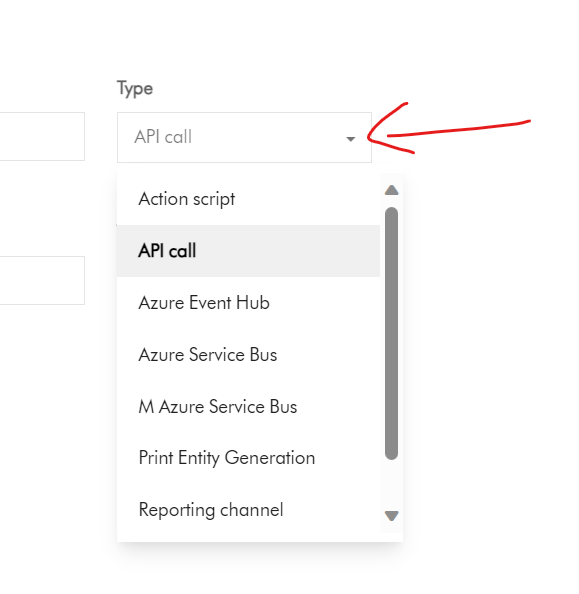
- Type: Select API call from the Type dropdown list, similar to one shown below
- Method: Select POST. This means a POST request will be sent to our Func app when this action is executed
- API URL: Specify your Func app URL. I will provide further details later on how to obtain your Func app URL in your local Dev environment
- Timeout: Specify a value of timeout in milliseconds. Content Hub provide a choice of 30, 60, 90, 120, 300 and 600 as of writing this blog
- Headers: Add any custom HTTP Headers for the POST request. In my case, I have a custom X-Api-Key which I am using to specify the Func app Api key
- Values: Add any additional meta data that you want passed into the Func app.
Getting your local Dev Func app ready for testing and debugging
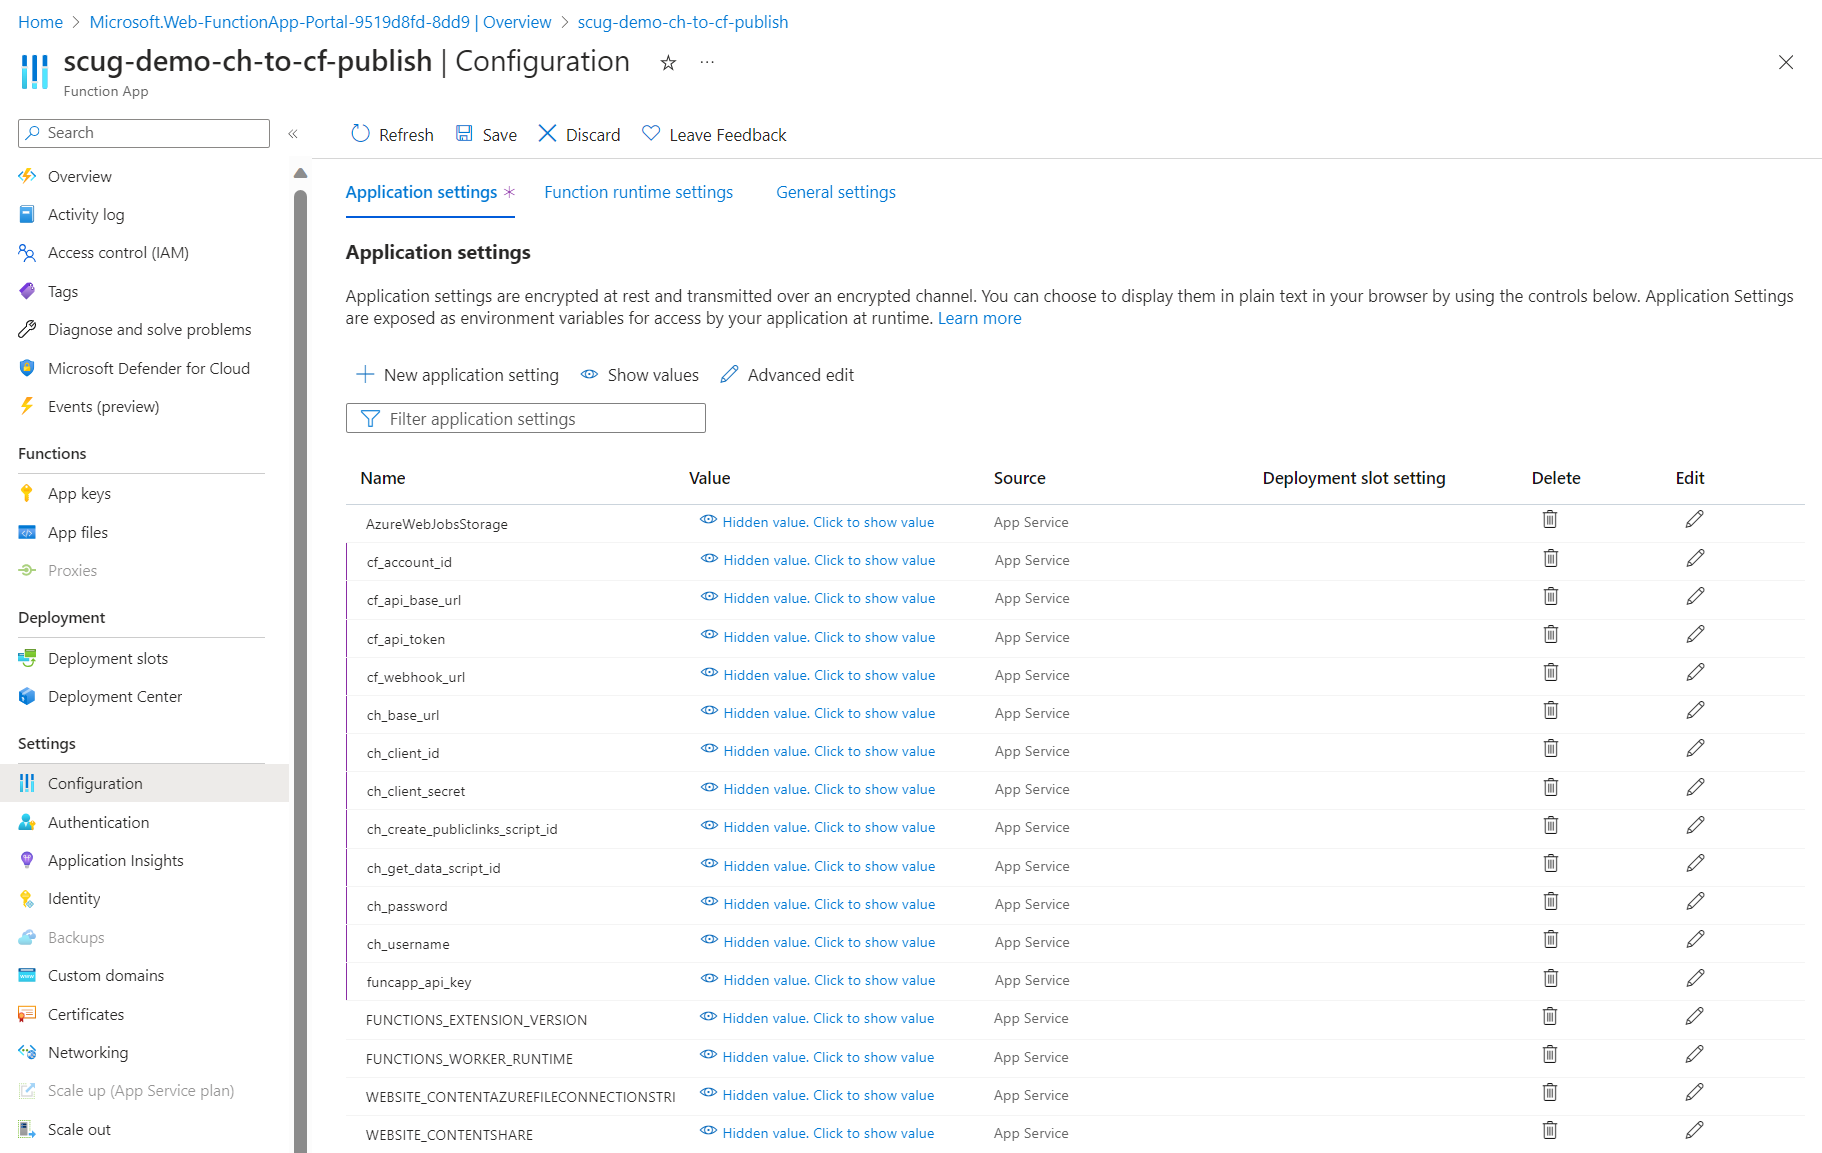
As explained in my previous blog, you need to ensure your local.settings.json has all the required application settings. This is to ensure we can establish an integration between Func app and your Content Hub instance.
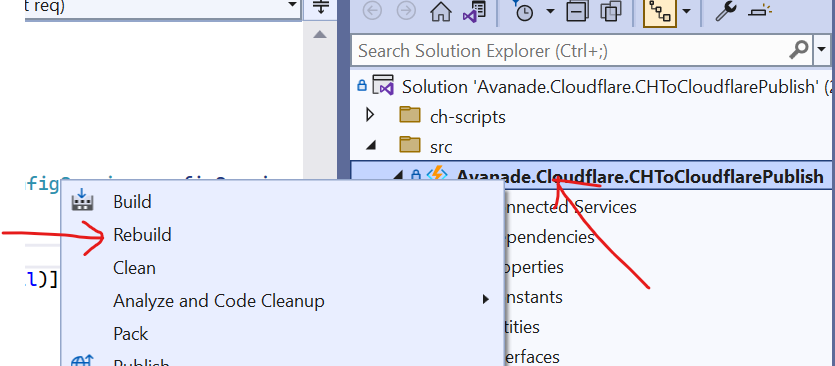
Then you need to build your Visual Studio project and ensure you have no Build errors. You can do this using Build -> Rebuild solution option. Alternatively, right-click on your project, and select Rebuild
Your Visual Studio Output window will show Rebuild All succeeded message, similar to the one below.

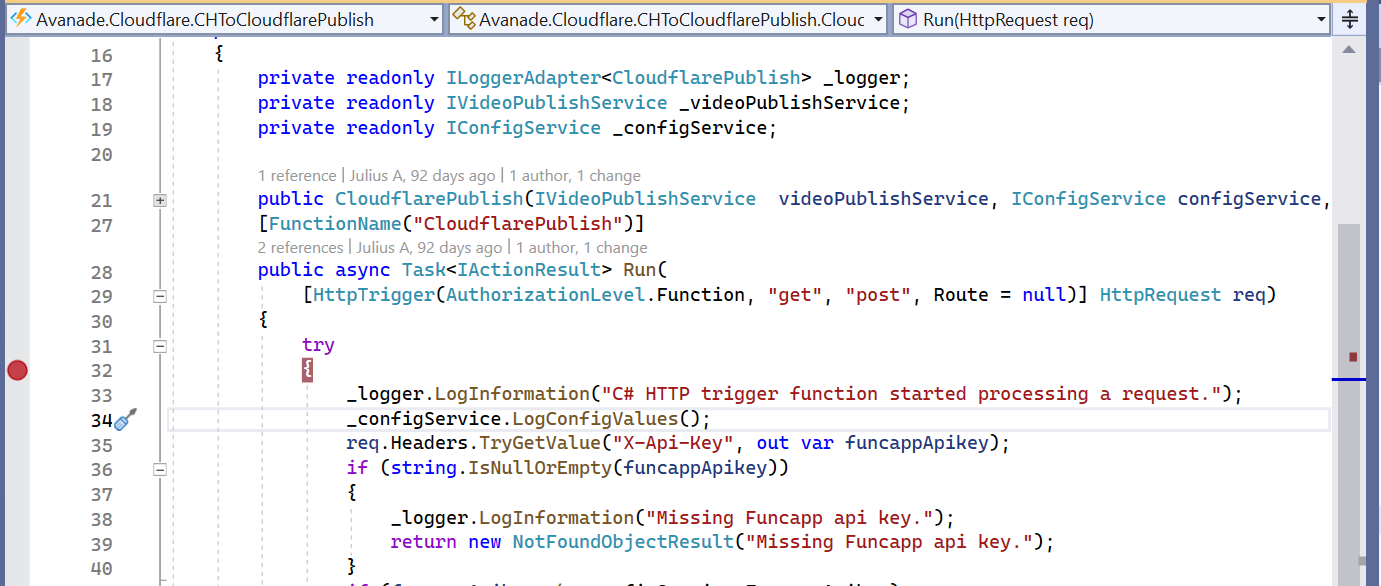
Setting up Breakpoint within the code files
To be able to debug and step-into your code files, add the relevant Breakpoints on a particular line of code using Debug -> Toggle Breakpoint menu or F9 shortcut key. In my example below, I have togged a Breakpoint on line 32.
Start running your local Dev Func app in Debug mode
We are now ready to execute our local Dev Func app in debug mode. From Debug menu, click on Start Debugging menu or select F5 shortcut key.
This will launch a Func app runtime command window, similar to the one shown below:
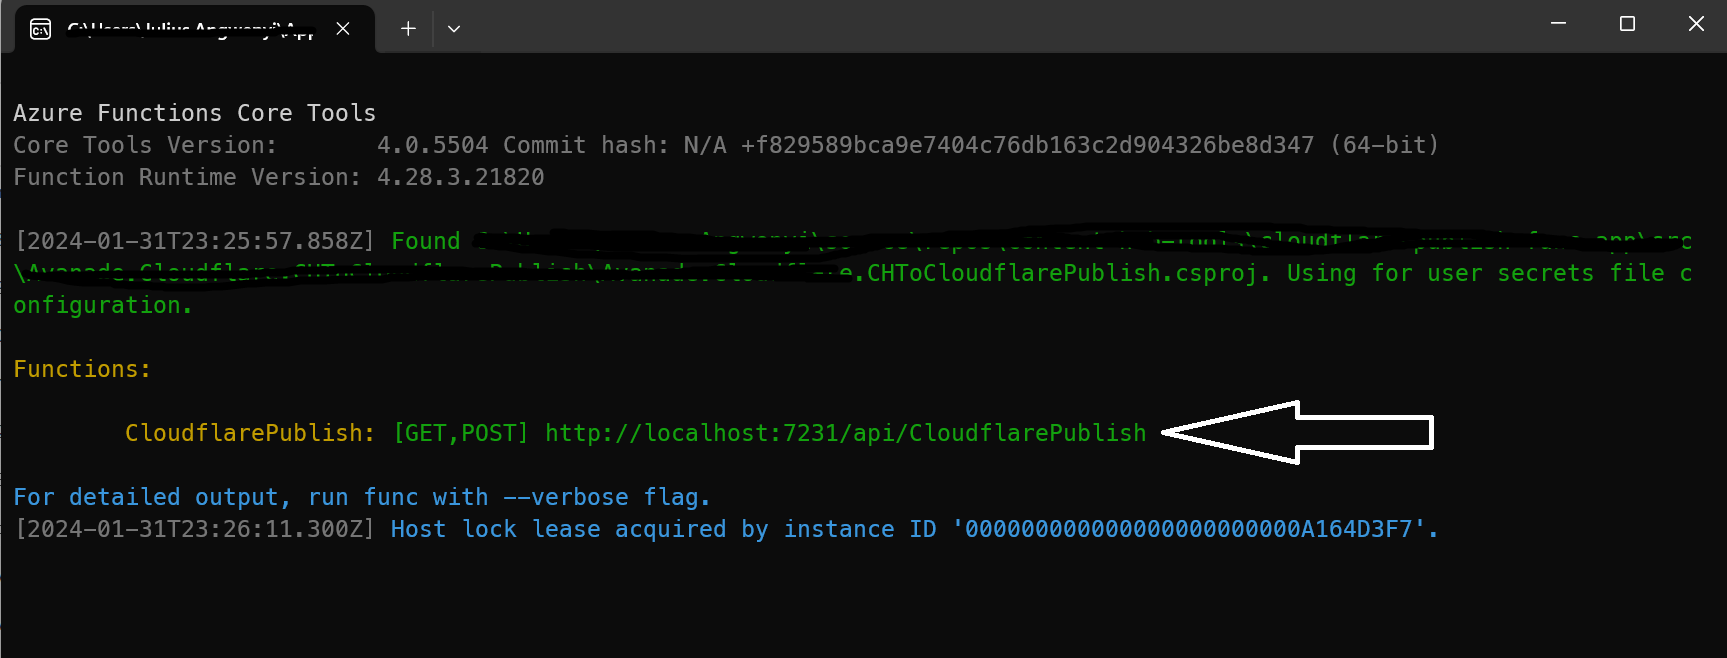
Your local Dev Func app is now ready to process your POST requests. The URL is indicated using the arrow above. Remember earlier on we needed to configure the Content Hub API call URL, this will be the value to use. Copy and apply this in your Content Hub accordingly.
Triggering your local Dev Func app from Content Hub
As I demonstrated in my YouTube video – 1 Cloudflare Stream connector demo, I am triggering the API call using a custom button. In my use case, I have added this button to the Blog details page. Clicking on ‘Send to Cloudflare’ button, will trigger the local Func app.

You will notice the local Func app will have activated any Breakpoints you have set up within the Visual Studio project. This will allow you to step into any lines of code that you would like to inspect at debug-level.
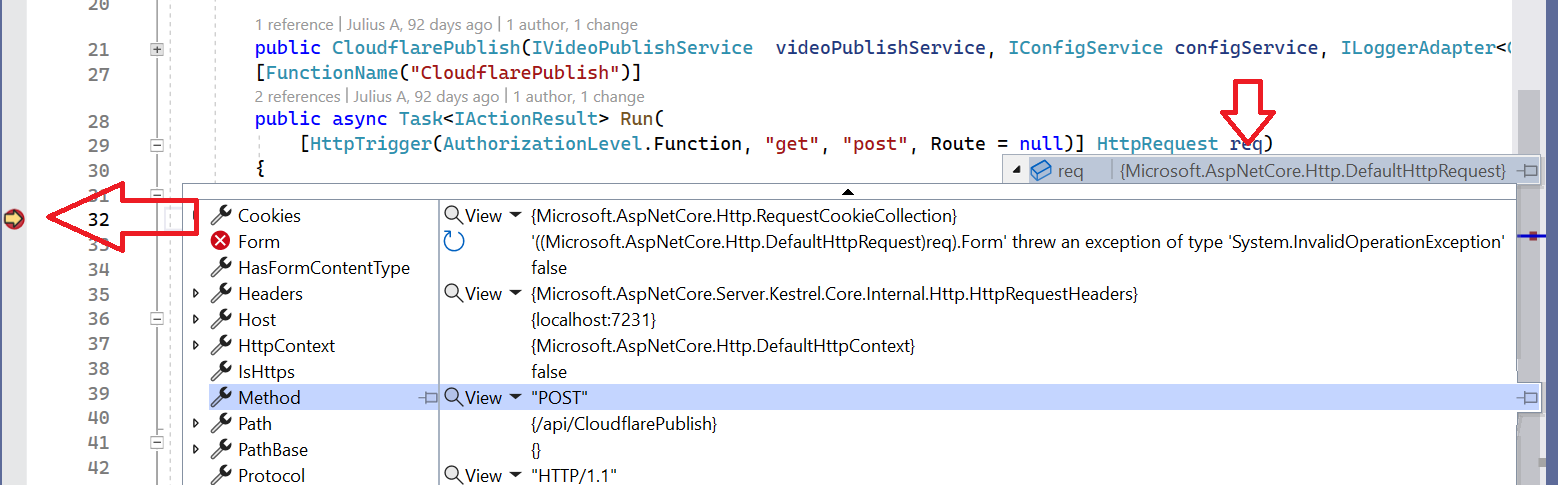
Sample active Breakpoint with request Debug details
Below you can see my Breakpoint on line 32, where I am inspecting debug-level details of my POST request.
Next steps
In this blog post, we have explored how to prepare both your Sitecore Content Hub API call and your local Dev Function app for integration testing. We also looked at steps of configuring and triggering the Func app whilst in debug mode. Feel free to watch the rest of my YouTube playlist where I am demonstrating the end-to-end custom connector in action. Stay tuned.