
Introduction
On this series of blog posts, I am documenting my journey of delivering personalized content to end users of a mobile app.
- Sitecore personalize and mobile app projects series – part 1 – Introduction and overview of the solution
- Sitecore personalize and mobile app projects series – part 2a – Enabling Sitecore Experience Edge (Sitecore Content Hub)
- Sitecore personalize and mobile app projects series – part 2b (this post) – Enabling Sitecore Experience Edge (Sitecore XM)
- Sitecore personalize and mobile app projects series – part 3 – Connecting Sitecore Personalize to Sitecore Experience Edge
- Sitecore personalize and mobile app projects series – part 4a – Explore Sitecore Personalize APIs and security considerations.
- Sitecore personalize and mobile app projects series – part 4b – Sitecore Personalize API Flow executions.
- GitHub Repo – Contains code samples and related artifacts referenced in this blog series
- YouTube Channel – My YouTube Channel with videos accompanying this blog series
Enabling Experience Edge for Sitecore XM
In this blog, I will cover integration between Sitecore Experience Edge and your Sitecore XM instance. Below is a reminder of our architecture.

Recap on Experience Edge for Experience Manager (XM)
Sitecore Experience Edge for Experience Manager (XM) is an API-based service from Sitecore that gives you globally replicated, scalable access to your Sitecore Experience Platform items, layout, and media.
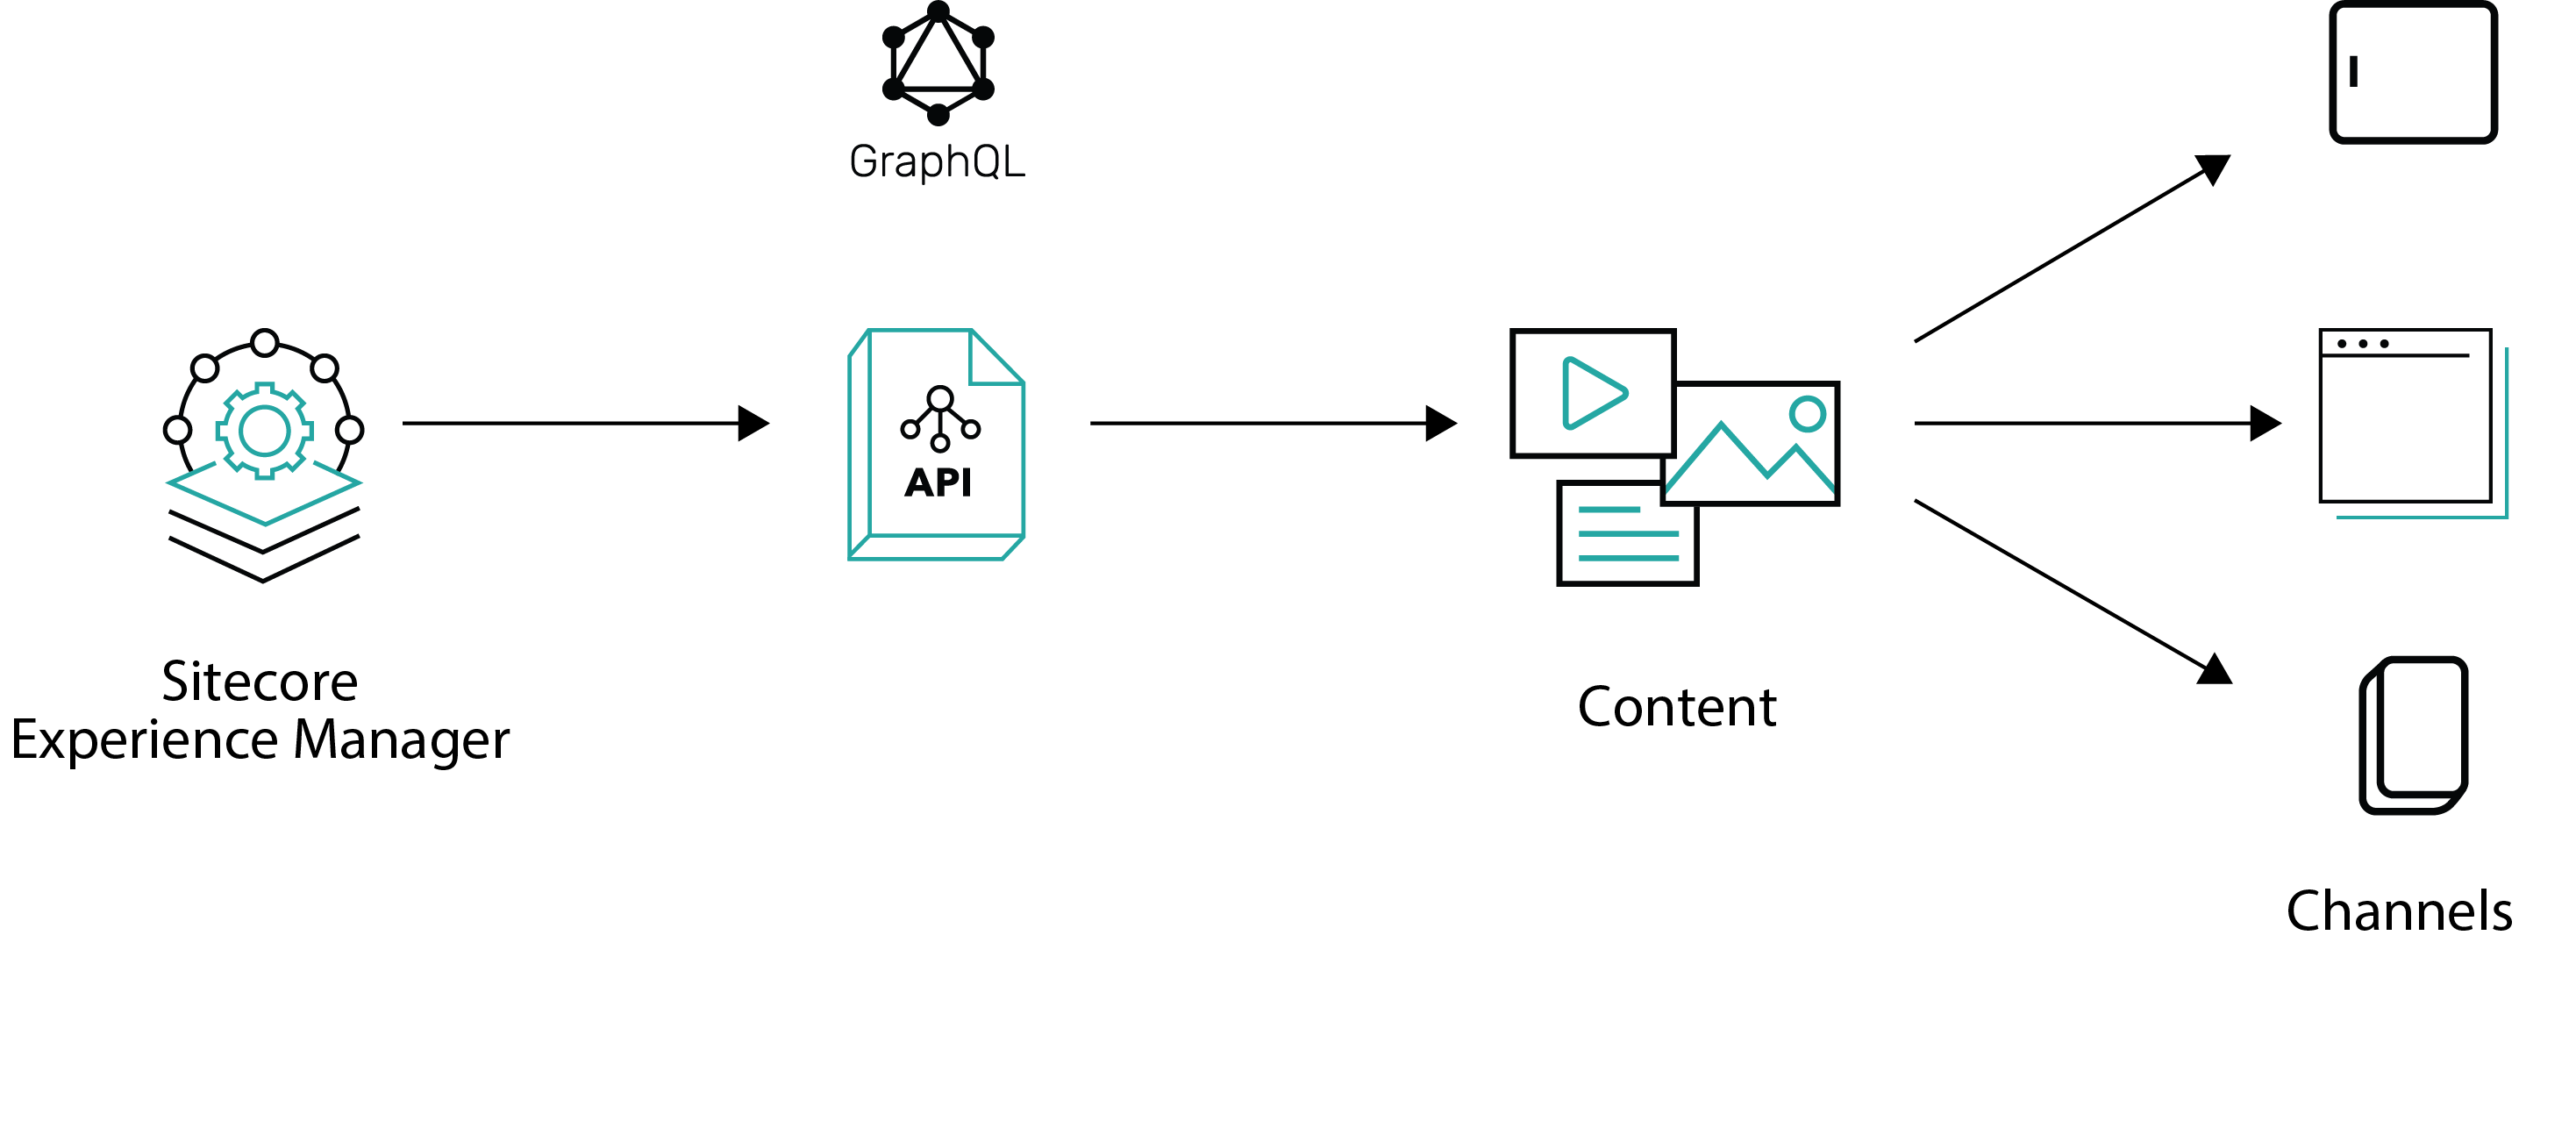
Sitecore XM + Experience Edge architecture, adapted from Sitecore docs
Experience Edge for XM acts as a publishing target for your Sitecore content and media, and provides a GraphQL API that lets you deliver “Headless content”, which will be consumed by the Mobile app.
Getting Started with Sitecore XM Cloud
You can request for a demo from Sitecore, by filling and submitting this form available on Sitecore website. Sitecore Support team will then get back to you with details on how to access your Sitecore XM cloud instance.
Alternatively, you can request for an XM + Edge Demo from the Sitecore Demo Portal page. This is the Portal where you can also request the Sitecore Play! Summit and Sitecore Play! Shop demos. The XM + Edge Demo will come configured with an Experience Edge, ready to go.
Below are the steps to use:
Step-by-step guide to obtain XM + Edge Demo
- Logon to https://portal.sitecoredemo.com/. On the home page, click on “Quick Deploy”. This is the quickest way to get your demo instance based on Demo Team’s default configurations.
- This will open a modal, from which the user can:
- select a demo template
- select an instance name based on the guidelines described above, in the “Choosing an instance name” section
- select a demo channel with preferred demo version
- select a region to which the instance will be deployed to

- Instance names are valid under the following conditions:
- The name must not already be used by another instance
- The name must be at least 3 characters long
- The name must contain only alphabetical characters or a hyphen
- The name must start with a character (not a number or hyphen)
- In case the name is not valid, or the name is taken, an error message will appear after the name has been validated by the Demo Portal API
- Click on Deploy Now button to submit the information captured above
- The Demo provisioning process may take a couple of minutes. Grab a cup of tea or coffee while this runs. Finally, you will receive an email notification from get[at]sitecoredemo.com, similar to one below.
- You can follow the links in the email to access your instance. Alternatively, log on to https://portal.sitecoredemo.com/ and you will see the link on your dashboard


Accessing your Sitecore XM instance and Experience Edge instance
Opening your XM+ Edge Demo instance, you will get a landing page like one below

To access you XM instance, follow the URL in the section named Important Links This will open your Sitecore XM login page, and which you can access using the provided credentials To access your Experience Edge tenant, use the URL provided in the Edge Tenant section, plus the API key. You can see details on What is GraphQL in the other blog post in this series
Next steps
This completes this blog, where I have walked you through getting your Sitecore XM and Sitecore Experience Edge integration working. I hope you find this useful, and feel free to leave me any comments or thoughts.
In my next blog, I will be looking at integration between Sitecore Experience Edge and Sitecore Personalize.

5 thoughts on “Sitecore personalize and mobile app projects series – part 2b”